7 Mistakes Homeowners Make When Installing a Dishwasher (And How to Avoid Them)
September 8, 2026
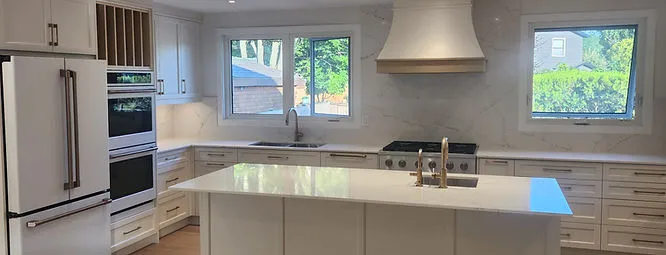
A homeowner-friendly checklist for preventing leaks, noise, poor cleaning, and cabinet damage during dishwasher installation.
Why careful dishwasher installation matters
Dishwasher installation looks simple until water appears under the cabinet or the door will not close. The appliance needs a level opening, a secure water connection, a correctly routed drain, safe electrical service, and enough clearance for the door and racks. A rushed installation can create a slow leak that damages flooring long after the first cycle.
If the opening, plumbing, or electrical connection needs modification, stop and bring in a qualified installer. These seven common mistakes are useful to know whether you are preparing the space yourself or checking the work after installation.
1. Skipping the measurement and cabinet check
Measure the width, height, and depth of the opening at several points. Floors and cabinets are not always square, and a replacement dishwasher may not have the same height or door clearance as the old one. Check the manufacturer’s rough-opening requirements, the location of the water and electrical connections, and the path through the home before delivery.
A tight fit can pinch a hose, trap the power connection, or prevent the dishwasher from being anchored correctly. Leave the service area accessible and confirm the front panel will align with nearby cabinets.
2. Forgetting to level and anchor the dishwasher
A dishwasher that is not level can rock, sit unevenly against the counter, leave water in the tub, and make the door difficult to latch. Adjust the front and rear leveling feet according to the installation instructions, then check the appliance from side to side and front to back.
Once it is level, secure it using the approved top or side mounting method. Do not rely on the countertop alone if the manufacturer provides another option, and avoid driving fasteners where they could damage the tub or nearby wiring.
3. Routing the drain hose incorrectly
The drain hose needs the high loop or air-gap arrangement specified for your plumbing setup. A low or kinked hose can allow sink water to flow back into the dishwasher or leave wastewater trapped. Make sure the connection at the sink drain or disposer is open and sized for the dishwasher hose before tightening the clamp.
Run a complete drain cycle and look for leaks at every connection. A hose that is stretched tight today may loosen or rub against a sharp cabinet edge over time.
4. Using the wrong water-supply connection
Use the approved supply line and fittings for the appliance and follow the manufacturer’s instructions. Reusing a worn connector, cross-threading a fitting, or overtightening a compression connection can cause a leak inside the cabinet. The shutoff valve should be accessible and should close fully.
Turn the water on slowly, inspect the connection, and run several fill-and-drain cycles while checking the floor and the cabinet below. A dry first minute does not rule out a leak that appears only when the machine is filling or heating.
5. Treating electrical safety as an afterthought
Follow the electrical requirements on the dishwasher rating plate and installation guide. Turn off the circuit before working on the connection and confirm the power is off. The circuit, receptacle or junction box, grounding, strain relief, and cord or hardwire method must be appropriate for the appliance and local requirements.
Never hide an extension cord behind the dishwasher or make a connection that can be exposed to water. If the existing electrical service does not match the new appliance, have an electrician or qualified installer correct it before the dishwasher is connected.
6. Leaving out the anti-tip and leak checks
Use the supplied brackets or approved mounting hardware so the dishwasher cannot tip forward when the door is open. Check that the insulation, hoses, and wiring are clear of moving parts and that the door seal sits evenly around the opening.
Run a full test cycle. Check underneath the unit, at the water valve, at the drain connection, and around the door. Listen for rubbing, vibration, or unusual pump noise and correct the cause before the appliance is put into regular use.
7. Closing the cabinet before the first test
Do not reinstall the kick plate or finish the surrounding trim until the dishwasher has completed a fill, wash, drain, and drying cycle without a leak. Keep the installation manual and note the date of installation for future service.
When the fit, connections, or electrical work are outside your comfort level, professional [installation service](/category/installation) can protect the cabinets and make the appliance easier to service later. A careful first test is much cheaper than discovering a hidden leak after the floor is damaged.
Need help with your appliance or gas service?
Share the appliance model, the symptoms, and your Niagara-area location so the team can recommend the right next step.
Contact the team